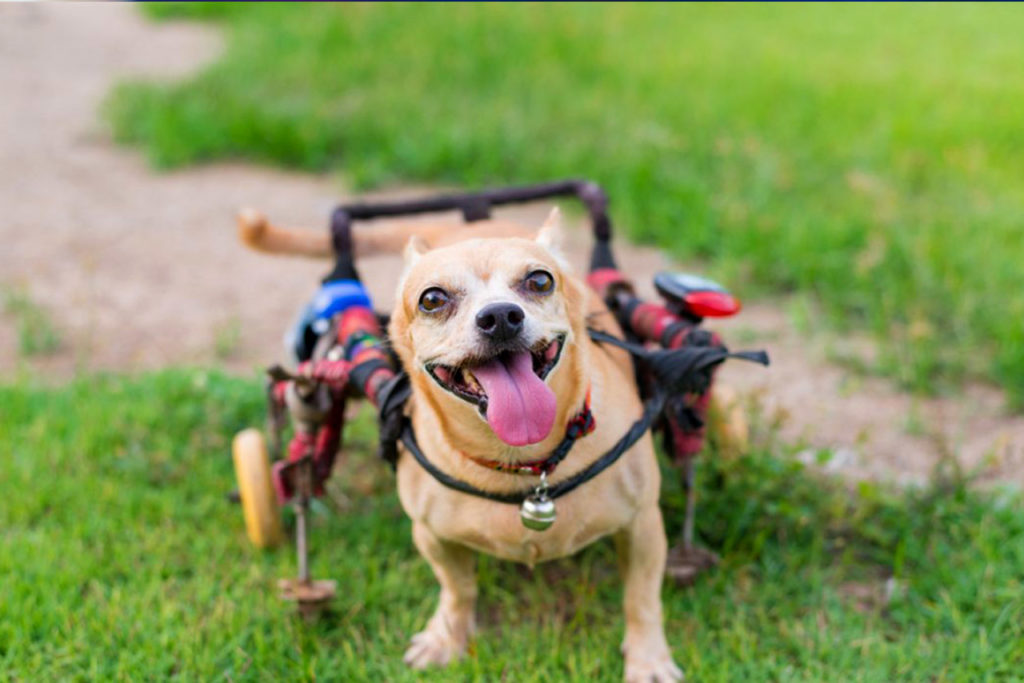
Having a dog that has lost its mobility can be challenging. But it’s possible to design a special wheelchair out of your old stroller. However, this will make your dog healthy and active without spending any amount. Of course, the whole process may look complicated, but I can guarantee you that I did it without facing any difficulty. So, don’t continue feeling sorry for your dog. But instead, you should consider finding a solution. We will discuss with you the most straightforward method that you can comfortably work on it.
Key factors to consider before you DIY a dog wheelchair out of a baby stroller
Regardless of how excited you are about the new DIY wheelchair for your dog, you need to note some important points. This is because you may find yourself working on something that won’t suit your dog’s needs. Before you make any step, be sure to consider the following;
- Have a conversation with your veterinarian. You need to explain your dog’s condition, and they will help you with health and safety concerns that you will need to consider.
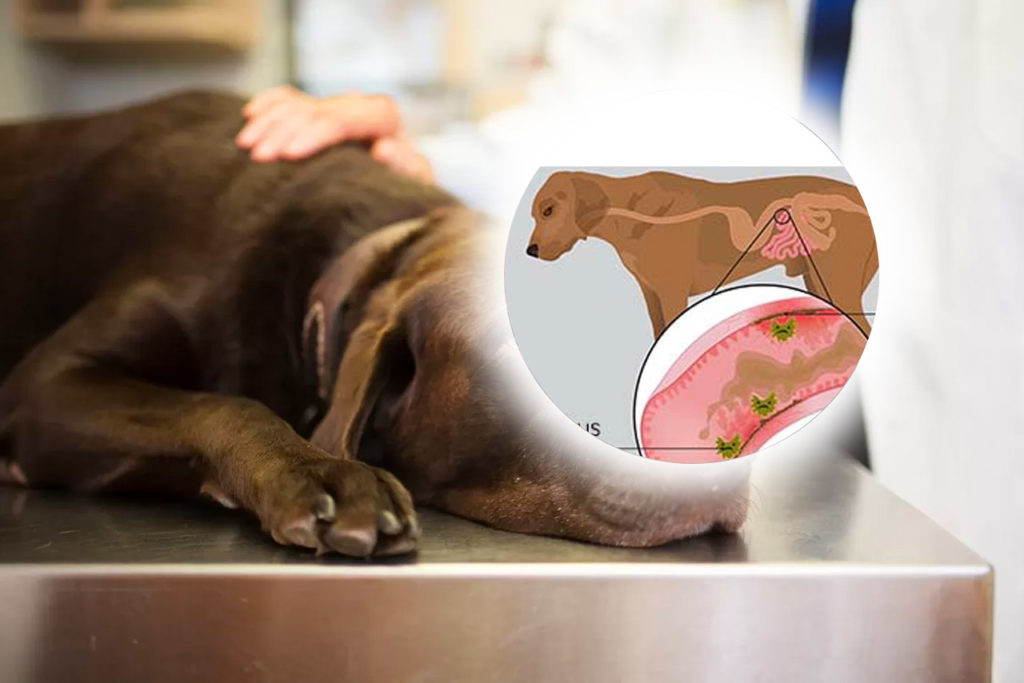
- What’s the condition of your dog? be sure to meet your dog’s needs. Maybe your dog is injured or having a health issue. It will help you determine the amount of space you’d leave or the thickness of padding that you’ll need. So, don’t just rush into it.
- How about the condition of your baby stroller? If your old stroller had got damaged or maybe you had altered some features. It might be a challenge to work on in the event of transforming it. Therefore, you need to ensure that it’s well fixed before you employ our DIY method.
Steps on making a dog wheelchair out of a baby stroller
Step 1: Start by checking the condition of the baby stroller you plan to use. Also, you need to take the weight of your dog to know whether he/she will fit into your design. This is because strollers are designed to accommodate different weights.
Step 2: Remove the safety straps and the buckle but don’t take out the chest straps. If the seat of the stroller is too small, relax it.
Step 3: Measure the leg opening at the front of a baby stroller. Use the measurements to cut out the pad. Once you’ve done so, use vinyl material to cover the pad. Please, ensure that it’s completely covered, not loose. Then, you can sew it if appropriate.
Step 4: Sew a Velcro fastener on the front leg opening and another fastener on one end of the pad. Ensure to stitch it properly. Once you are done, get your dog leash, then sew it to the cut safety harnesses.
Step 5: Take the measurement of the hood to the safety bar. But give an allowance to your measurements to leave a space where you will attach a fastener. But ensure that the room you’ve set aside isn’t enough for your dog to leave the wheelchair.
Step 6: Use the measurement you obtained to cut out the mesh material. The mesh will allow air circulation and keeping your dog safe. Sew to join the edges of the mesh. Attach Velcro to the edge of the mesh.
Step 7: Attach the other end of the Velcro to the baby stroller. Once you are done, obtain the measurement of the stroller sitting area and know the size of padding you’d want. But ensure that the padding can easily be detached so you can clean it.
Final word
Working on this design is easy enough to put it together in an afternoon. So, you don’t need to dig into your pocket to make your dog happy and active. With your baby stroller, you can employ our DIY design. You will save yourself enough amount. Therefore, give support to your dog but ensure that you don’t damage their joints. It may take some time to adapt but be sure to train.

