Blooket is an online platform that makes learning easy and fun through games. It’s changing the way we teach and learn. Blooket play makes learning fun. It turns studying into a game that’s exciting and engaging. Whether you’re a teacher trying to connect with your students or a student looking for a fresh way to learn, Blooket has something special to offer.
In this guide, we’ll show you how to dive into the world of blooket/play. We’ll explain the basics and help you see how Blooket can make learning an adventure.
How Does the Blooket Game Work?
Blooket is an excellent tool for teachers to make lessons exciting, and for students, it’s a fun way to learn new stuff. You can create your own game or pick one from a library of questions on different subjects. There are cool game modes like “Tower Defense” and “Bingo” to keep things interesting.
When it’s time to play, you can host the game live or assign it as homework. Students join in by using a code on their phones or computers. Blooket keeps track of their scores as they play and rewards them for the right answers.
How to Play Blooket Online Games?
#1. Visit the Official Blooket Website
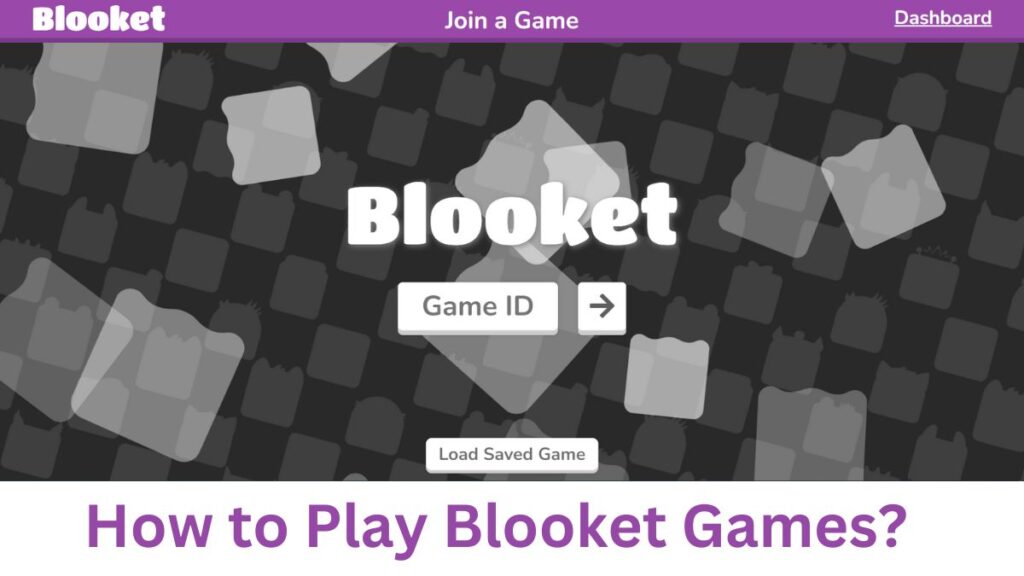
The journey to playing Blooket online games begins with a simple visit to the official Blooket website. Here’s how to do it:
- Open your preferred web browser on your computer or mobile device.
- In the address bar, type “play.blooket.com” and hit “Enter.”
- You’ll be taken to the official Blooket website.
- Blooket is a web-based platform, so there’s no need to download any applications or software. Once you’re on the website, you’re ready to embark on your Blooket adventure.
#2. Log In to Your Blooket Account or Create One
To get the most out of Blooket and access all its features, you’ll need to log in to your Blooket account or create one if you don’t have one yet. Here’s how to do it:
If you already have a Blooket account:
- Go to the official Blooket website at “www.blooket.com.”
- Click on the “Log In” button, usually located in the top right corner of the page.
- Enter your registered email address and password.
- Click the “Log In” button.
- You’re now logged in and ready to explore and create Blooket games using your account.
- If you don’t have a Blooket account then you should join blooket first
#3. Access Your Dashboard
After logging in to your Blooket account, you’ll find yourself in your personalized dashboard. This dashboard is your control center for managing and creating Blooket games.
Here’s how to navigate it:
- Dashboard Overview: Take a moment to explore your dashboard. You’ll find an overview of your Blooket activity, including games you’ve created and those you’ve joined.
- Create a Game: To create a new game, look for a “Create Game” or similar button. This is where the magic happens, allowing you to tailor the game to your specific educational objectives.
- Manage Games: Your dashboard also provides options to manage your existing games. You can edit, delete, or duplicate games as needed.
- Customization: Depending on your Blooket subscription level, you may have additional customization options, such as the ability to change game themes, upload your images, and more.
#4. Create or Discover Question Sets
In this step, you’ll decide what questions will be in your Blooket game. You have two options: you can either create your custom question sets tailored to your specific lesson or topic, or you can explore the wide array of question sets already available on Blooket.
Here’s how to go about it:
Creating Your Custom Question Sets
- From your dashboard, click on the “Create Game” or similar option to start a new game.
- Choose the “Create Questions” or similar feature to add your questions manually.
- You can add questions, answer choices, and even explanations for correct answers.
- Customize your questions to fit your lesson plan or learning objectives.
Discovering Existing Question Sets
- If you’d rather explore pre-made question sets, return to your dashboard.
- Look for options like “Discover Sets” or “Explore Libraries.” Click on them to see what’s available.
- You’ll find question sets created by both educators and students, covering a wide range of subjects.
- Browse through the sets to find ones that align with your lesson.
#5. Choose Your Game Mode
Blooket offers a variety of game modes, each with its unique twist, ensuring an engaging and diverse learning experience. Here’s how to pick the game mode that suits your lesson plan or desired gaming experience:
- Selecting a Game Mode: Once you’ve decided on your question set, navigate to the section that allows you to choose a game mode. This is usually part of the game creation process.
- Exploring Game Modes: Blooket offers various game modes like “Tower Defense,” “Bingo,” “Match,” and more. Click on each mode to learn about its blooket play and educational value.
- Choosing the Right Mode: Consider your lesson objectives and the learning style you want to encourage. Some modes may be better suited for review sessions, while others are excellent for introducing new material.
- Customization: Depending on your Blooket subscription level, you may have additional options for customizing game modes, such as adjusting timers or setting specific win conditions.
#6. Host Your Blooket Game
Now that you’ve created your game, it’s time to host it. This step involves deciding whether to run the game live or assign it as homework, allowing for a flexible approach to learning. Here’s how to go about it:
Hosting a Live Game Session
- If you want real-time interaction and excitement, choose to host a live game session.
- Click on the option to start a live game, usually available within the game creation or management section.
- Set a date and time for the live session, and make sure your students are aware of it.
- During the live session, provide your students with the game code, which they’ll use to join the game on their devices.
- As the host, you’ll control the pace of the game, presenting questions and monitoring progress in real time.
Assigning the Game as Homework
- For a more flexible learning approach, you can assign the game as homework.
- Find the option to create a homework assignment within the game creation or management section.
- Set a deadline for the assignment.
- Share the game code and instructions with your students, allowing them to complete the game within the specified timeframe.
- After the deadline, you can review their performance and progress at your convenience.
#7. Assignments and Homework
Blooket offers an innovative approach to assignments and homework, allowing educators to create engaging tasks that blend seamlessly with the platform’s interactive features. Here’s how to make the most of Blooket for assignments and homework:
Creating Blooket Assignments
- Begin by logging into your Blooket account and accessing your dashboard.
- If you haven’t already created a game, follow the steps outlined earlier to design your custom Blooket game, selecting the appropriate question sets and game modes.
- Once your game is ready, consider how you want to use it as an assignment. Blooket offers two primary options: hosting the game live or assigning it as homework.
Live Game Assignments
- Hosting a live game for an assignment allows for real-time interaction and assessment.
- Set a date and time for the live session, and inform your students accordingly.
- During the live session, provide the game code to your students, allowing them to join the game and participate.
- As the host, you can control the pace of the game, presenting questions and monitoring progress in real-time.
- After the game, you can review the results and assess your students’ performance.
Homework Assignments
- Assigning the game as homework offers flexibility, enabling students to complete it at their convenience.
- Set a deadline for the homework assignment, taking into account your students’ schedules.
- Share the game code and instructions with your students, ensuring they understand the assignment’s requirements.
- After the deadline, you can access the game results and evaluate your students’ progress.
FAQs
Can I create my own Blooket games?
Absolutely! Blooket allows you to create custom games tailored to your educational objectives. You can choose question sets and game modes to fit your needs.
How can I invite students to play Blooket games?
You can invite students to join your Blooket games by providing them with a game code. They can use this code to access the game on their smartphones or computers.
Is Blooket suitable for both in-person and remote learning?
Yes, Blooket is versatile and can be used in various learning environments, including traditional classrooms and remote settings.
How can I track student performance on Blooket?
Blooket provides real-time feedback on student performance during live games. You can also review results and assess progress after the game is completed.
Conclusion
Blooket play stands as a powerful ally, seamlessly blending learning with gaming. It empowers educators to create engaging lessons and offers students a fun and interactive way to absorb knowledge. Blooket’s versatility, accessibility, and innovative approach make it a valuable tool for anyone seeking to make learning an exciting adventure.


